This is hopefully going to be a simple, step-by-step guide on how to root your Kindle Fire HD successfully. I received the Kindle Fire HD 2 for Christmas 2012 from my ever-awesome other half & enjoyed it thoroughly for the first few days as just that, a Kindle. Within about 3 or 4 days, I’d done enough digging on how to root the Kindle and free it from Amazon’s restrictive clutches.
For those of you completely new to the concept, let me briefly explain. Other tablets out there are mostly running the Android OS, unrestricted and installed as-is, with the huge exception of Apple’s iPad offerings running iOS. You could be forgiven for thinking the Kindle Fire, HD and 2 were a completely different animal altogether at first glance, but in fact, they’re not! Amazon have taken the same Android OS and locked it down with a custom launcher and features tied to their services. While I appreciate everything about my Kindle and what it can do, within 4 days of unwrapping it, I’d released it from it’s restrictive, Amazon-locked shackles and rooted my Kindle Fire HD successfully. Read on to see how I did it!

Before you begin, please makes sure you’re comfortable tinkering with this sort of thing and PLEASE make sure you understand that carrying out (or trying to!) these sort of changes to your device risks buggering it up! Put plainly, you won’t always get the chance to hit an ‘Undo’ button to take back any changes and worst case, you could end up bricking your devices. This goes for anything you tinker with the base OS, software or firmware on so DO be prepared, however slim the chances!
Having said that, there are a few prerequisites involved here:
- Windows XP, Vista, 7 or 8 Workstation 32bit or 64bit.
- A free USB 2.0 or 3.0 port.
- A Kindle Fire HD 7″, Kindle Fire HD 8.9″, Kindle Fire 2 7″or Kindle Fire HD 2 7″.
Before you begin, if you have Windows Vista or Windows 7, open a Command Prompt & type ‘ping 4.2.2.2‘ then press enter. If you get replies, carry on with the rest of the guide. If not, you’ll have to carry out this small fix first!
- Right click on My Computer/Computer (whichever you have) and choose Properties.
- Go into System and this will open System properties. Once here, select ‘Advanced System Settings’.
- Next choose ‘Environment Variables’ and under the ‘System Variables’ find ‘Path’.
- Select ‘Path’ with your mouse and choose ‘edit’.
- Scroll to the very end of the list in here. It’ll have various paths for different things, all separated by a semi-colon like this ‘;‘. Be careful not to change anything else here, simply paste in ‘;C:\Windows\System32‘. Note that there’s no space between ; and the C:\Windows\System32 and this statement isn’t case sensitive, it can be both upper and lowercase or a mix.
- Click OK & repeat until you’ve closed System Properties.
- Test by opening Command Prompt (Start > Run > cmd OK, Win-key + R > cmd OK, or however you prefer to get there) & ping 4.2.2.2 again. If you see replies, congratz, you’re all set!
Unplug your Kindle from USB during all of this.
Java! This process doesn’t directly involve a lot of Java, but it will call on some Java APIs so it’s worth making sure you’re Java is up to date. You can check this on Oracle’s website and if you don’t have it, download the 32 or 64bit Java SDK. Install & restart your PC when finished.
We install the ADB driver first! If you’ve done this already and confirmed communication between your PC & Kindle, move right along! 🙂 When I rooted my Kindle, the longest period of time was spent on getting Windows 7 on my PC to communicate with it. I installed the recommended drivers from Amazon and others I’d picked up online several times over and failed to get my PC to detect the Kindle as an ADB device. Almost drove me crazy, grr! It left me tinkering with hardware IDs and bat files, but after an hour of tinkering, I finally got it working. Recently, 2 months after rooting my own Kindle, I rooted one for a work colleague and found a new driver pack to work with so I’m pleased to say you won’t have to bother with any of those trials and tribulations, just download the following:-
[wpdm_file id=1]
There are 2 versions included. Run KindleFireADBdrivers.exe and if this fails, run the newer KindleDrivers.exe file instead.
Open another Command Window, this time make sure you ‘Run as Administrator’ and type in the following:
bcdedit -set loadoptions DISABLE_INTEGRITY_CHECKS
bcdedit -set TESTSIGNING ON
Press enter to complete this, then restart your PC to have it take effect.
Extract the ADB driver zip contents and double-left-click onto KindleFireADBdrivers.exe first and this should install the driver for you. Again, if you have any problems with this, just do the same to run the KindleDrivers.exe file instead.
At this point, you’ll need to enable ADB on your Kindle Fire device. You can enable this by doing the following:
- Unlock your Kindle if locked already.
- Pull down the upper bar to reveal menu options. Select ‘More’.
- Select ‘Security’ from the menu here.
- In ‘Security’ there’s an option called ‘Enable ADB’ & it’ll be OFF by default. Press ‘ON’ to enable ADB.
- If having trouble with either of the .exe files provided, there’s an alternative driver available for generic Android devices that you can try. ALT DROID USB DRIVER HERE!
- Connect your Kindle to your PC and see if it’s recognised as an ADB device.
Now, we root your Kindle Fire!
Win7 Users Note: You need to open a command prompt ‘as Administrator’ when running the batch files RunMe.bat and RootQemu.bat otherwise Windows will respond with ‘Permission Denied’.
[wpdm_file id=2][wpdm_file id=3]
- Download Root MANY ANDROID! (32bit) or Root MANY ANDROID! (64bit) (links above) and extract it to your Desktop.
- Ensure your Kindle is still connected via USB.
- Open the Root MANY ANDROID! folder and single left click the folder toolbar to highlight the entire folder.
Note: Make sure no individual files are selected or highlighted in blue!
Press the SHIFT Key & right mouse click, then choose ‘Open command window here’. - A command window will open. Now type ‘RunMe.bat‘ and press enter.
- You’ll be given 3 different options at this point. Choose option 1, Run Normal Method and don’t worry about the errors you may see – you can ignore them. Watch for the ‘Restore‘ dialogue box that will pop up on your Kindle during this process. If you’re asked for an ‘encryption password’ enter the one you use for Amazon. (I wasn’t prompted for mine.) Click on Restore. When done, the Kindle will reboot.
- Quick check! If your Kindle is slow & sluggish since rebooting, repeat step 3-5. If it’s responding normally, carry on with step 7.
- Download suchecker.apk and using Windows Explorer, move suchecker.apk from your PC to /Kindle/Internal Drive/Download on your Kindle.
[wpdm_file id=6] - Now go to your Kindle. Using ES File Explorer (available FREE on the Amazon App Store or below)or Root Explorer, go to /sdcard/Download/suchecker.apk & choose Install.
[wpdm_file id=5] - When the install has finished, go to your Apps. Launch Root Checker.
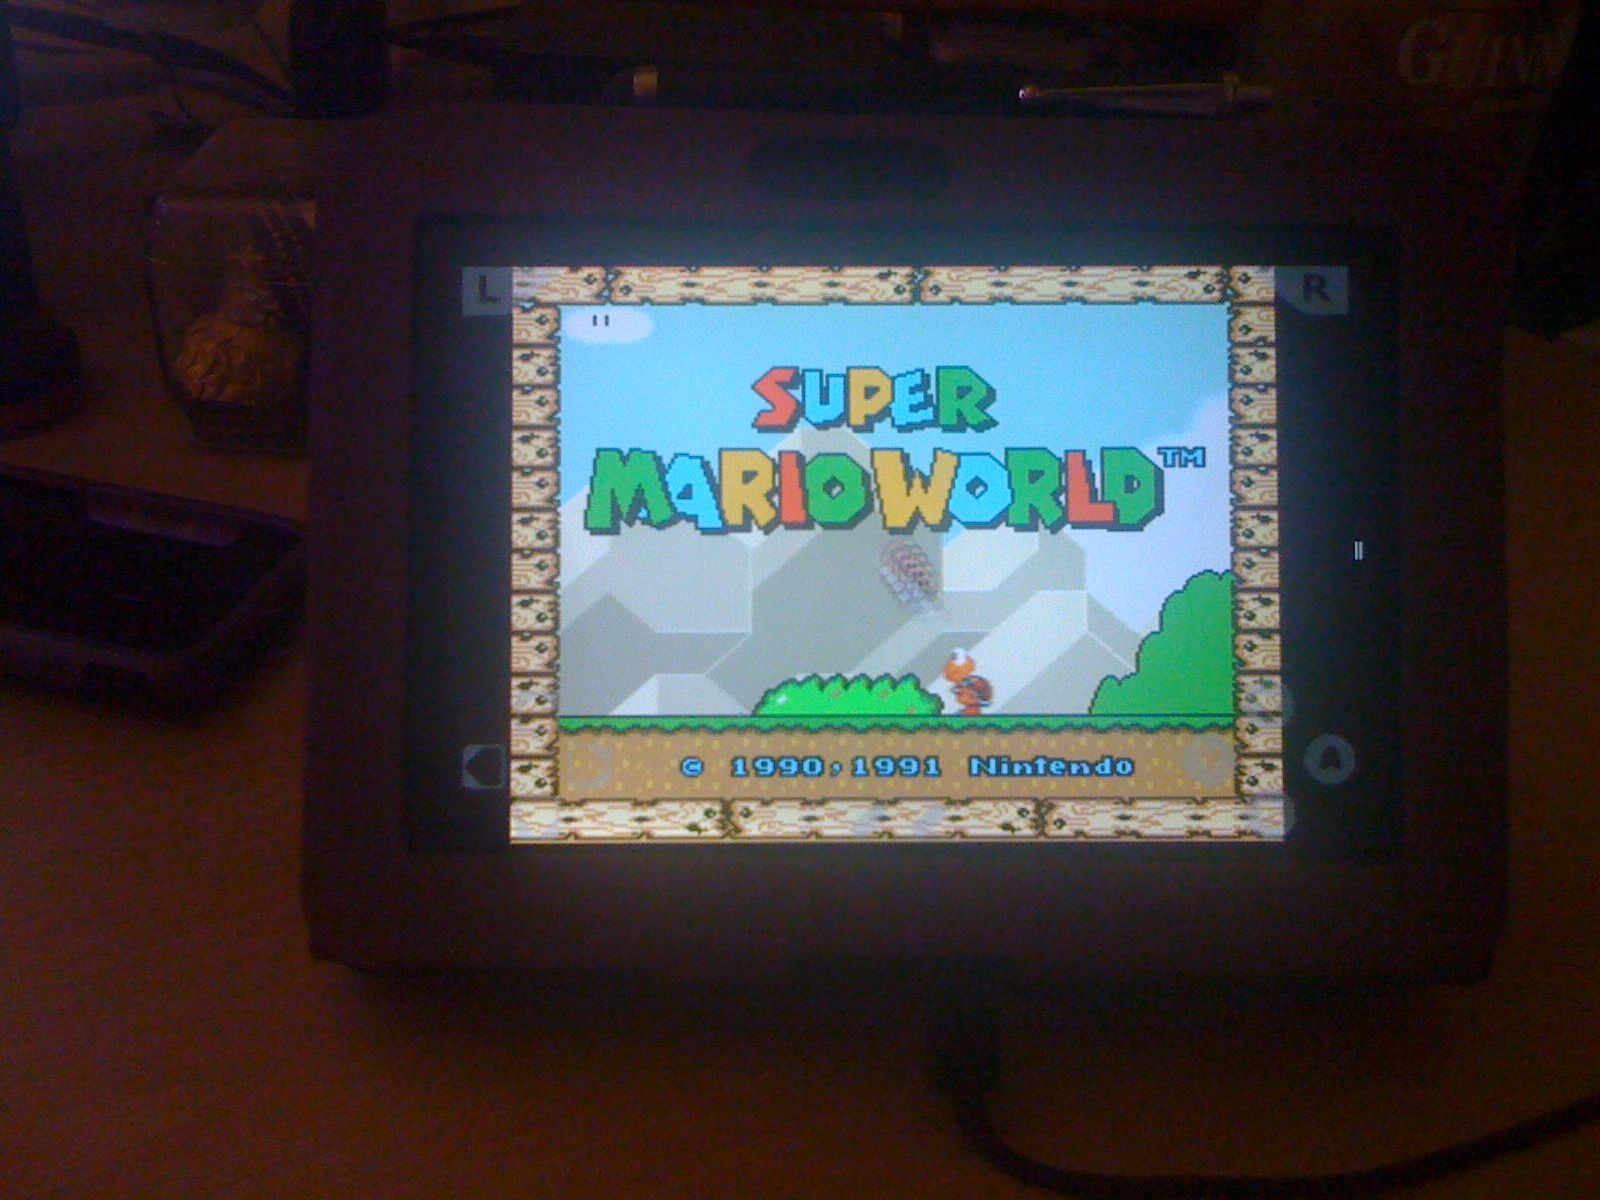
When you check Root you will be presented with a “Allow” dialog box, be sure to Allow Root Checker. You should now see that Superuser.apk is working.You should now have root AND if this is true your ADB communication is also working!

Wait, you’re not done yet! You’ve put in all this hard work to get this far and we don’t want an OTA (over the air) update from Amazon to undo it all automagically. Lets disable Amazon’s OTA updates. 🙂
Open ES File Explorer and navigate to the OTACerts.zip file located in system/etc/security folder. Either rename this in its current location, or move it to another folder. I moved mine to /sdcard/Download/ where my other items are stored so if I ever want the file again, I haven’t lost it.
The following 2 steps were helpfully provided by Christian in the comments of this post. His post comes 6 months after I’d initially rooted my Kindle and so these steps may be relevant if you’re rooting now:
1.) In order to get the ADB to work, with the Kindle Drivers version I used, I had to go into the Device Manager (Search in the start bar for it), go to Kindle, right click on the kindle’s drivers, and hit update. That let the ROOT MANY ANDROID program work.
2.) In order to delete OTACERTS in ES File Explorer, I had to be in ES, click Root Explorer on the left, click Mount R/W, and then OK. After that, it would allow me to delete OTACERTS.
Finally, to get you back to where your PC started off in all this, open command prompt again and type in the following:
bcdedit -set loadoptions ENABLE_INTEGRITY_CHECKS
bcdedit -set TESTSIGNING OFF
As before, press enter and then restart your PC to have it take effect.
That’s it, you’re done! 🙂
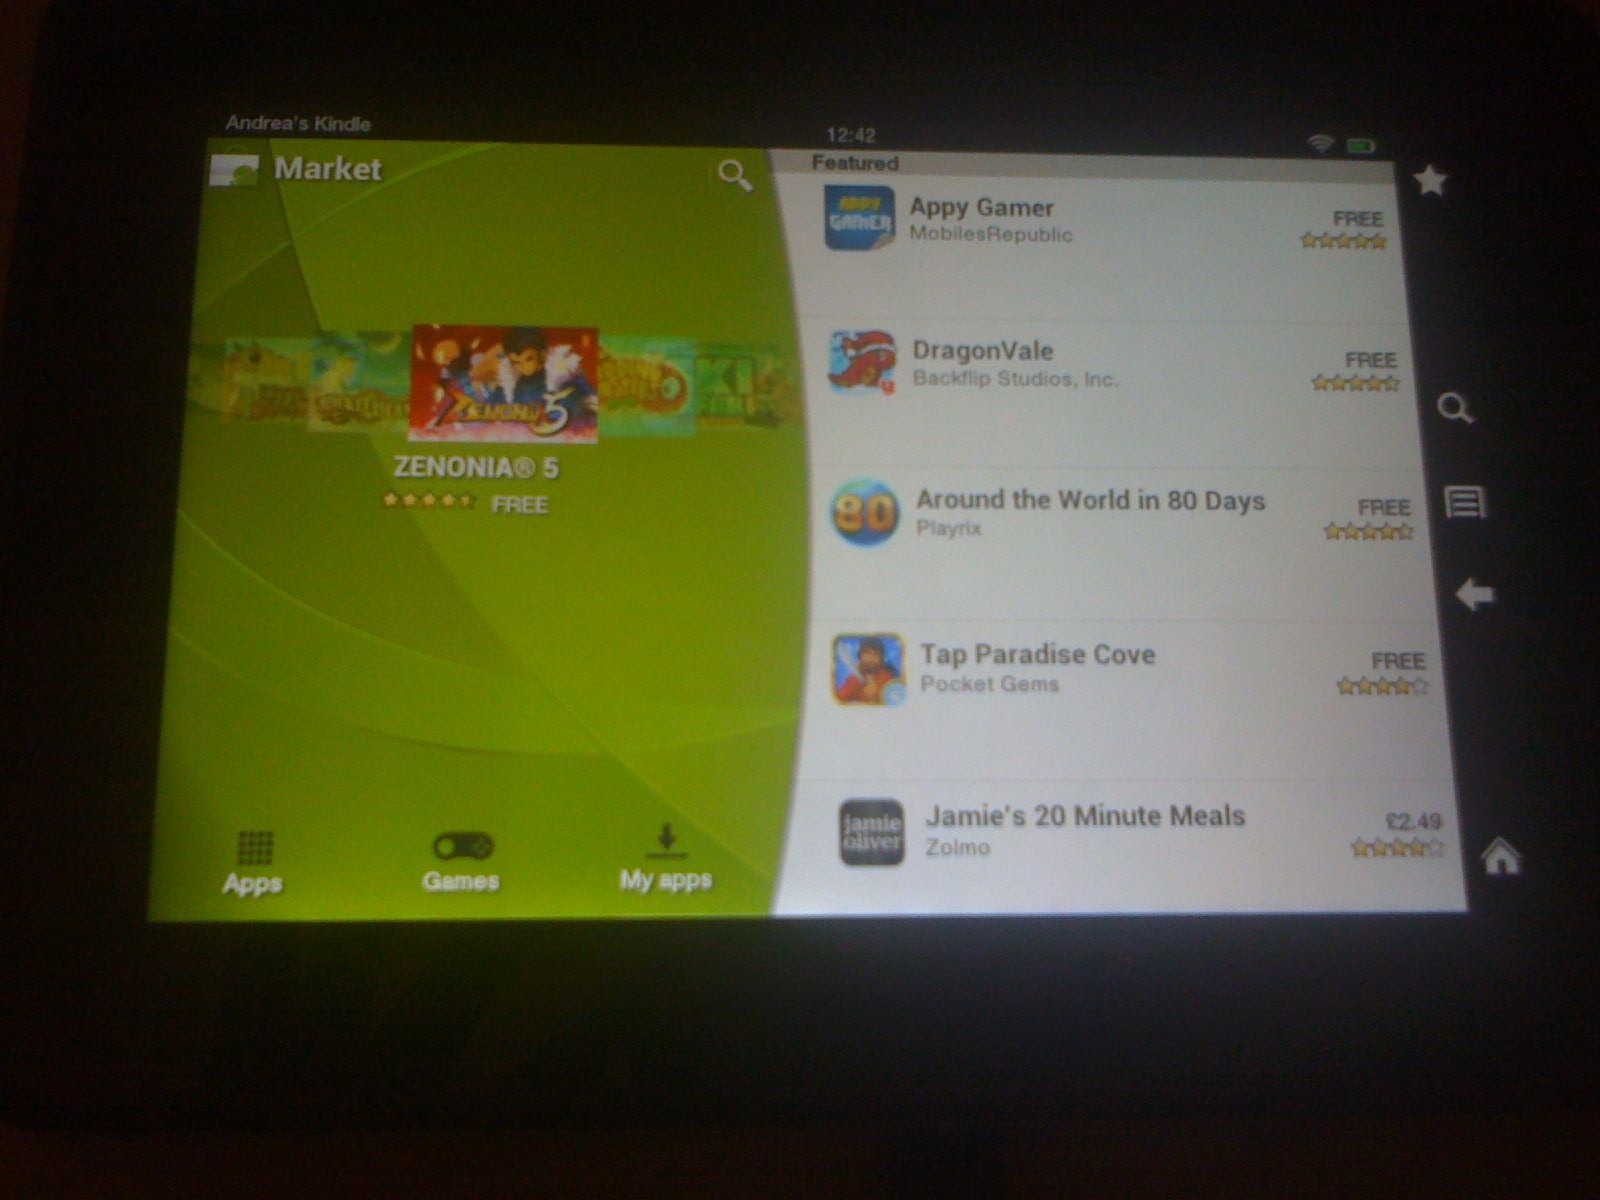
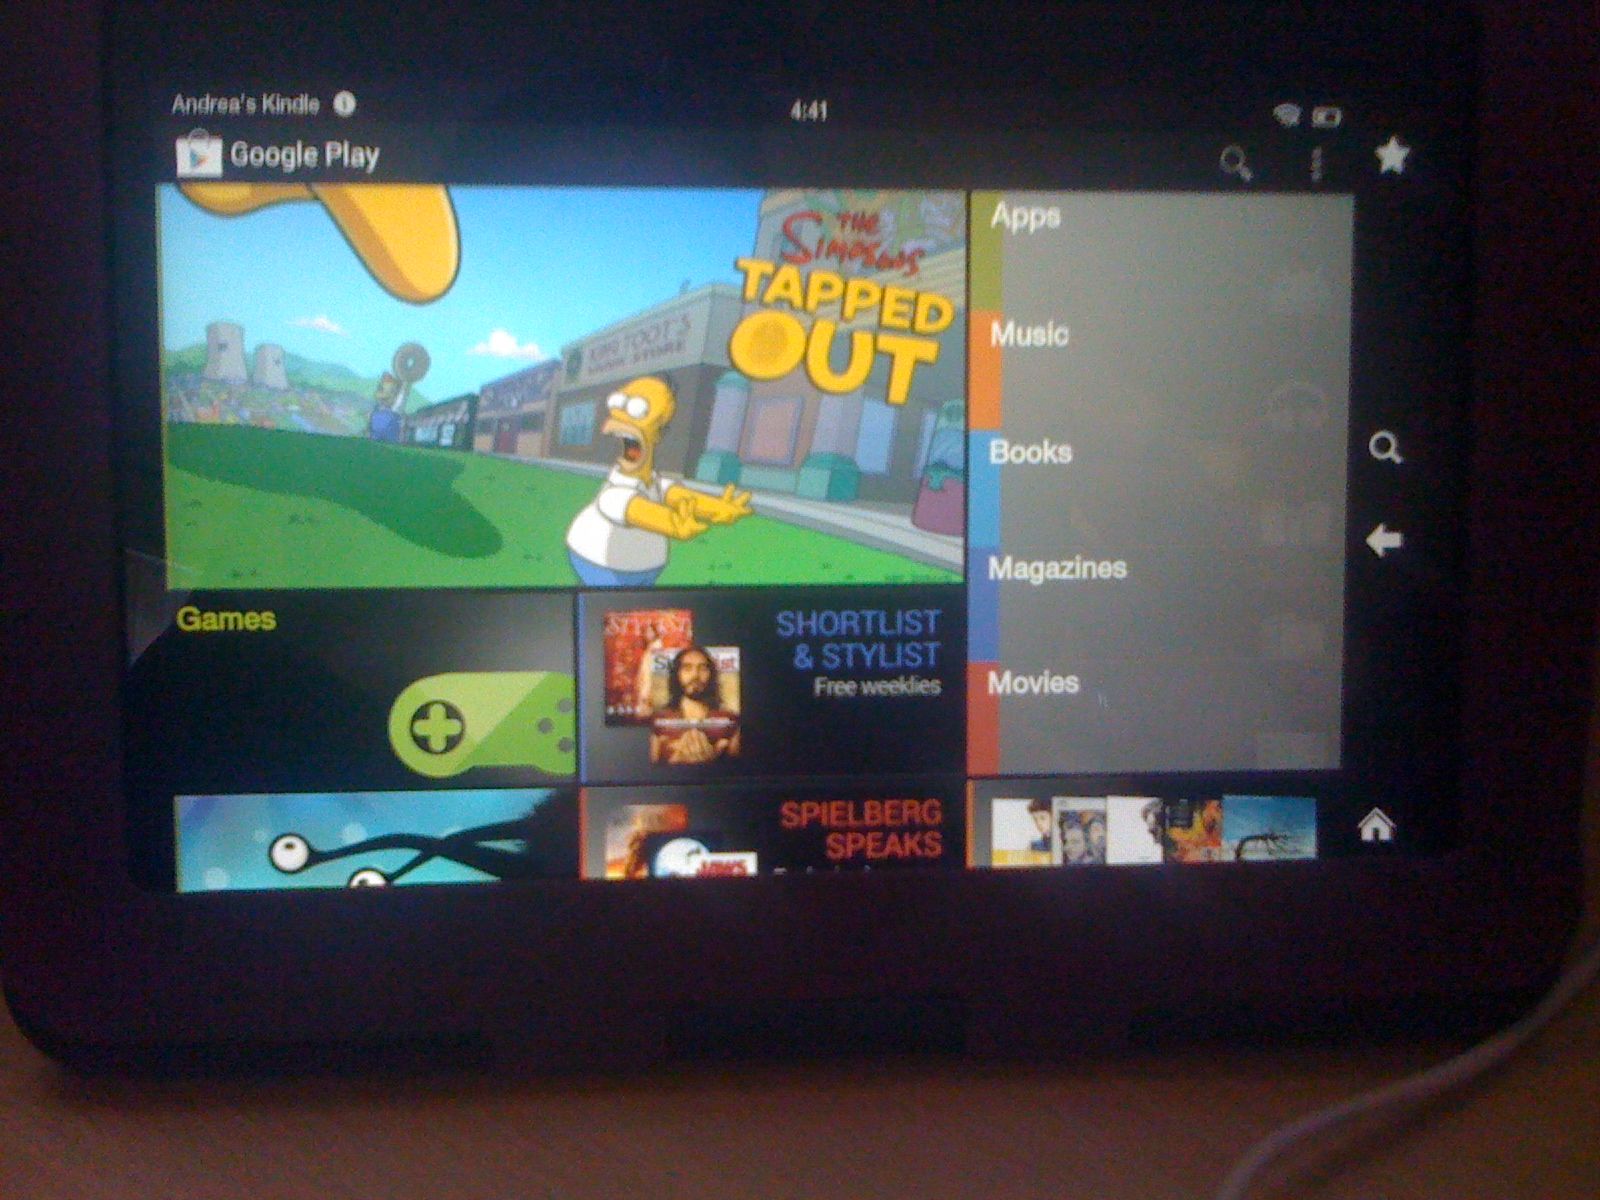
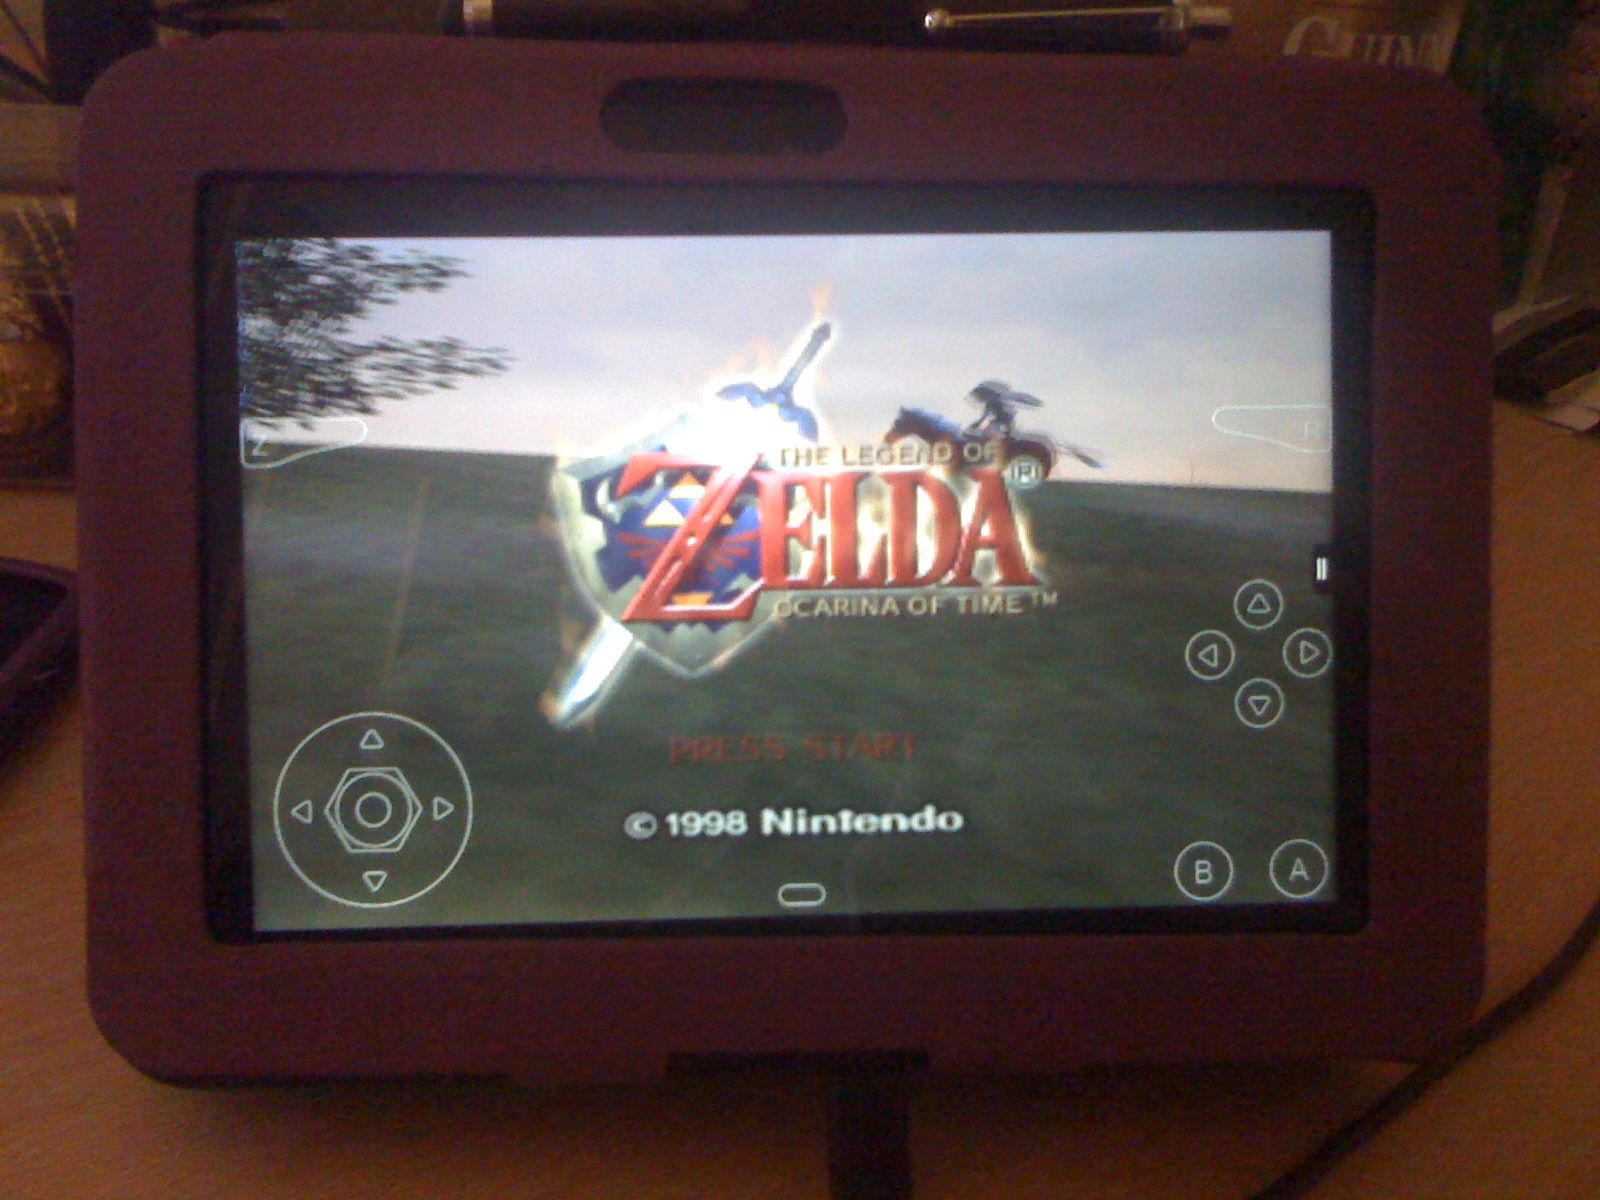
This is the first full guide I’ve done for Tech Leopard, so apologies if it’s either too detailed or not detailed enough at this point. I’ve tried to simplify it as much as possible having run through the process twice now with 2 separate Kindle Fire HDs. I’ll do a few more guides in future to cover installing certain launchers to let you get away from using just Amazon’s default; installing the Google Play app store (download free & paid apps legally, no torrenting, etc) and installing game emulators to enjoy the most out of your newly rooted Kindle Fire!
For Those Who’ve Asked:
If you’ve used the guide and found it helpful, please feel free to leave a little donation using the following button. Please don’t feel any obligation to do so, I’ve provided the guide purely to help those like myself who enjoy tinkering with this sort of thing and who want to enjoy their Kindle to the fullest. I’m adding this simply because a few people have been very gracious and asked me how they can donate to say thanks and to support the site, etc and suggested that I add a way to donate here on the guide. Thanks everyone for your support, it’s incredibly generous of you and very much appreciated.
Hi,
A very informative guide. A lot of effort in putting this guide together.
Hope this is a help to anyone who is looking to root their Kindle.
John
Aww, thanks hun. I’ll go about my business quietly now that I’ve been able to hit post & stop fiddling with my download plugins! *slinks away quietly*
I spy game emulators, sweet! Please hurry up and get those guides up, I’m dying to test it out on my girlfriend’s Kindle. If it works I’ll totally be picking up the new HD one instead of shelling out for Nexus 7.
Lol wow, OK it’ll be the very next guide I write up. I’ve a few posts on my list at the moment, but I’ll bump the game emulators up. They’re fun enough to be worth it! 😀
Aww, I’m really glad to hear it helped. My biggest issue was getting a driver installed to let Windows detect the Kindle as an ADB device. If this guide helped spare you some similar headaches then I’m thrilled to hear it! Thanks for taking the time to comment!
I was linked to this post after posting problems I had following the guide on XDA Developer forum. Someone linked me to your site to use the files here and I just wanted to let you know that they worked a treat. Do you have one for Nova launcher or the Google app store in the works?
When I rooted my own Kindle back in December 2012, I spent a bit of time reading through the XDA forums. There’s some useful stuff there, but I hit a 3hr brick wall trying to get my Win7 PC to detect the Kindle as an ADB device and so couldn’t carry on with the ADB commands via command prompt. A bit of creative driver editing later (read: 3hrs of hair-pulling and cursing!) and I finally got it working so I’m only too happy to try and spare anyone the headache. Glad it helped! 😀
Thanks it’s work for me, but I cannot find OTACerts.zip under /system/app
Hi Geniehost,
I’m really glad to hear this has worked for you. 🙂 I’ve done a quick check and you’re correct, OTACerts.zip isn’t in system/app (I’ve amended the guide already)! My apologies, that’ll teach me to finally get around to writing the guide 3 months after I rooted my Kinde Fire, hehe. OTACerts.zip is originally located in System/ETC/Security. Hope it helps!
When i download Root Many Android and get to step 3, there isn’t any option for an ‘open command window here’ what should i do?
Hi Shay! Sorry to hear about your troubles. When right clicking in the folder, be sure to hold down the shift key so you’re ‘shift right clicking’ and it’ll be on the menu as an extra option that’s not there on the standard right click menu. You’ll need to be running command prompt from that folder before typing in runme.bat otherwise command prompt won’t know what file you’re referring to, hence the error you’ll get saying it’s not recognised as an internal or external command.
it also says RunMe.bat is not recognized as an internal or external command, what should i do
can you tell me how to get the go launncher and google play store?
Sorry for keeping you waiting for these! I’m planning on a guide for both installing the Go Launcher and Google Play Store, but unfortunately life’s been busy & taking screenshots, collating them and preparing the post itself takes time. They’re definitely the very next guides I want to write along with installing game emulators on your Kindle – I’ve had so much fun with emulators on mine! 🙂 I’ll have some time off coming up soon so hopefully I’ll get them done then if not before. Fingers crossed!
Drea,
Thanks for the guide, I was sucessful. But it won’t let me delete/rename the otacerts.zip file from /System/etc/security.
Hi Rdog! If you’ve had trouble doing anything with OTACERTS.ZIP, I’d try what Christian’s suggested in a later comment here; to try the option to mount R/W so you’ve got the option to read AND write in that file directory, so that should let you apply the changes you’re trying to. I didn’t seem to have this problem when I rooted mine, but it WAS 6 months ago so little things may have changed. I’ll update the guide with this as a suggested step to hopefully avoid anyone getting stuck at this point.
I just wanted to comment here, because this was the only thing working for me. Two things I had to do that aren’t listed anywhere (probably due to updates).
1.) In order to get the ADB to work, with the Kindle Drivers version I used, I had to go into the Device Manager (Search in the start bar for it), go to Kindle, right click on the kindle’s drivers, and hit update. That let the ROOT MANY ANDROID program work.
2.) In order to delete OTACERTS in ES File Explorer, I had to be in ES, click Root Explorer on the left, click Mount R/W, and then OK. After that, it would allow me to delete OTACERTS.
And that’s it. Those are the only two issues I found.
Awesome, thanks for leaving feedback, Christian. It’s been over 6 months now since I rooted mine so I’m sure there’ll probably be other things that’ll change over time due to updates, or if you’re experience was a bit like mine, some steps just didn’t work out for me & I had to mess around to find what worked for me. I’ll add your suggestions into the guide just to make sure all bases are covered. Thanks mate!
hey guys. please can i install the es file explorer apk without going on the internet cos i dont have a working wifi that i can connect my kindle to. thanks all for your comment.
Hi ku,
If you’ve no working wifi for your Kindle, you could transfer the file over USB if you’re comfortable doing that? All you’d need would be the internet on a computer to download the file, then connect your Kindle via USB and drop the ES File Explorer APK file into your Kindle’s download folder. If you have any trouble finding a copy to download, I can upload a copy here for you to make things easier. Hope it helps!
AWESOME guide, super easy to follow, saved me a ton of trouble.
One note: DO use Christian’s advice (above) for removing the OTACERTS folder.
Thank you!
Thanks, Scott! I’m glad the guide helped. 🙂 I’ve been meaning to update the steps involving OTACerts to keep it current using Christian’s steps, but the redesign of the blog took up a chunk of my time and I’ve just literally realised with your comment, that I hadn’t updated the guide with those steps! D’OH! Will get on that straight away! 🙂
Dear Drea!
First of all, thank you very much for your guide, I managed to root my device thanks to it.
However, I have a problem with something regarding it now… I was looking for a guide to install Google Playstore, found one and began following the steps. At a certain point, I need to go to the ES Eplorer root settings, but they simply aren’t there. Acording to that guide, this means the device isn’t rooted correctly.
However, the suchecer app says that everything has root access, exactly as in your last screenshot.
I gave super user access to the explorer, yes.
Also, I can see the OTA updates file, but I cannot modify it.
If you could give me some advice regarding this, I would really appreciate it…
Thanks in advance!
Nevermind, I was using a previous version of ES Explorer, and it had a different UI. Solved.
Altough I do have thousands of new questions (now I want to tamper with the framework or install a second bootloader), but the burden of answering won’t fall on you.
Thanks once again =)
Really glad to hear you got that sorted out Fiodor, and apologies that I didn’t get to your initial comment sooner – few mishaps with spam comments that I only managed to resolve last night! Thanks for taking the time to come back and let us know how you resolved the issue. 🙂
Hi, after running the ROOTMANYANDROID runme.bat, nothing seems to happen on my Kindle. The drivers are installed and the PC can see the Kindle, but the Kindle doesn’t switch off or restore. What am I doing wrong?? Thanks.
I had a bit of a similar problem when I was rooting a friend’s Kindle Fire for them. I ended up just uninstalling the drivers and reinstalling again from scratch. It took a few attempts running the bat file, but the Kindle did eventually respond. That Kindle I experienced the issue with was bought in Feb/March 2013 whereas my own from Dec 2012 worked first time so it may just have been down to the software version being more up-to-date, I’m not sure.
Hi folks.
Was successful in rooting my Kindle HD 8.9 using your excellent guide. Had tried three others instructions but had no success. Yours works! Struggled a bit with removing the OTACERTS, but realized my ES Explorer app was out of date. Updated that and followed your instructions (thank you Christian!) and I’m good to go! 😉
Glad to hear everything went well, Bob! Thanks for taking the time to comment. 🙂
thanks again I also had an update issue
Excellent tutorial, well written and easy to understand 🙂
Just wish me luck now as I boldly go……
Thanks, DaMonkey!
I’m really happy to hear that you found it easy to understand. Good luck out there! 😉
Great job on this guide! If Amazon didn’t want to make sure people could only buy apps from there store then this wouldn’t be needed.
Thanks, JD! I’ve also checked out your site and you have some nice content going on over there. I’ll give it a read! 🙂
I have done all except the step where you rename/move OTACerts.zip. Whenever I try it says Task Is Failed, I’m guessing it’s because there must be some sort of lock on it. Any ideas? Oh and by the way nice guide, easy to follow 🙂
Oh never mind I forgot to read on, I got it now 🙂
Just found this guide, and am longing to free my Kindle Fire HD from the clutches of Amazon, but would like to know if I can still buy books from amazon etc, and will it still have all the Kindle apps I currently have, and can I still get specific Kindle apps. (One that I use a lot is “my player pro – kindle tablet edition” which allows me to watch live TV on my Kindle including ITV2+1 etc (something TV Catchup has delisted)
Hi Dave, I’ve replied to your email, but will answer here too. So far rooting my Kindle hasn’t prevented me using any apps bought via Amazon and I’ve not heard from anyone who has had any problems. If this app ends up being the exception to the rule, rooting can be undone easily enough and all your content resynced back onto it again if you ever want to go back the way you came. I’ll bet you won’t wanna go back though! 😛
I have (at second attempt) successfully rooted my Kindle Fire HD thanks to your fantastic guide.
I had the same issues as PCGirl, and did the same as you suggested, and uninstalled and reinstalled the drivers.
The Drivers installed successfully, and everything else worked OK.
I did have to follow Christians second point regarding the OTA, but now that’s OK as well.
Device manager shows “Android Composite ADB Interface”
All I need now is a guide to install Google Play…
Great guide – Thanks again
Hi Ali, picked this up via your message on Twitter.
Hallo. ^^
I’m trying to root from a windows xp, and whenever I type
bcdedit -set loadoptions DISABLE_INTEGRITY_CHECKS
and
bcdedit -set TESTSIGNING ON
into the command prompt, I get a message saying
“‘bcdedit’ is not recognized as an internal or external command,
operable program or batch file.”
I tried the ping 4.2.2.2 thing, but I got replies.
Did I do something wrong already?
I googled around and apparently bcdedit does not exist on 32 bit windows (which I am running).
Will this be a problem in the long run?
Hi Mirai, I’m afraid I’ve no idea how it’ll affect things in the long run. I’ve only ever used a 64bit OS for the process. I’d suspect if you can ping the IP successfully you should still be able to go through with the process, though there may be some different steps involved.
I’ve followed your guide exactly and everything went very smoothly up until the very end. At the end of the runme.bat running, it says:
Successful, going to reboot your device in 10 seconds!
Waiting for device to show up again….
Going to copy files to it’s place
mount: permission denied (are you root?)
You can close all open command-prompts now!
After reboot all is done! Have fun!
Bin4ry
Press any key to continue . . .
I have used the 64 bit one because I have Win7 64 bit. I don’t have superuser installed or have root access to my kindle fire hd 7. I assume its because it says “Going to copy files to it’s place mount: permission denied (are you root?)”….Any idea why this is?
To recap; I’ve: installed java dev, then android sdk, then kindle drivers, recognizes it as apd, enabled apd on my kindle, then I’ve added the extension on the end of “path”, did the integrity/testsigning commands, and then ran the runme.bat file. I’ve tried running as administrator and normally (as suggested in your article). running as administrator lets it run, but does nothing to my kinde & gets tons of errors. Running it normally goes smoothly and normally, except for the very end (which i pasted above).
Help is appreciated!
The only time I’ve encountered an error similar (not exact) was when my Win7 install was recognising the Kindle, but not as an ADB device. I assumed by ‘apd’ you mean ADB? It was necessary for me to run the bat file as admin as it wouldn’t have had the persmissions to continue otherwise – my first suspicion is that this might be where the issue lies. What sort of errors are you getting when you run as admin?
Apart from that, I’ve not carried out a rooting on the last model of Kindle as my own’s from late 2012 and the last one I rooted personally for someone else was bought June 2013. Although I’ve not had any feedback to suggest the steps may fail for more recent models, this still may be the case.
I tried it & suchecker.apk said it was NOT rooted. I tried it again and now the Kindle is horribly slow. It won’t open show apps or even the starting Kindle wallpaper.
What can I do ???
Partial success on my 3rd try. When trying to do the OTACERTS thing as seen below in “quote marks, my ES File Explorer did not have a Root Explorer nor did it have a System folder.
“In order to delete OTACERTS in ES File Explorer, I had to be in ES, click Root Explorer on the left, click Mount R/W, and then OK. After that, it would allow me to delete OTACERTS.”