Firstly, apologies for the long break in posting. I actually built the server on the last week of May, but haven’t had the time to sit down & sift through all the pics I’d taken during the build to prepare this post properly. There weren’t many changes to the components list I’d posted previously by the end, but thanks to another ‘too good to pass up’ deal from Ebuyer I was able to add a superb Crucial M4 64GB solid state drive into the mix. The 64GB is MORE than enough to cope with Windows Home Server & even with a few programs installed already, it still has over 40GB left available.
Anyway, enough rambling! On with the home server build itself!
Components
Okay, lets refresh our memory with the list of components used in the initial build.
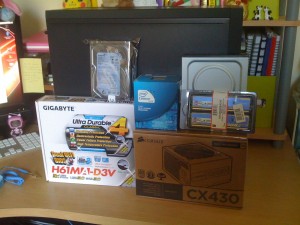
BitFenix Shinobi Case – Black, non-windowed version.
Gigabyte H61MA-DV3 Intel H61 (Socket 1155) DDR3 Motherboard
Intel Celeron G530 2.4GHz Socket LGA 1155 Processor
Corsair Builder Series CX 430W V2 ’80 Plus’ Power Supply
Kingston HyperX Blu 4GB (2x2GB) DDR3 PC3-10666C9 1333MHz Dual Channel RAM
Crucial 64GB M4 SSD – 2.5″ SATA-III
Seagate 2TB BARRACUDA – 3.5″ SATA-III Hard Drive – 7200RPM 64MB Cache
LG DVD 24x DVD±RW SATA ReWriter
BitFenix Spectre Plain Black 120mm Fan
BitFenix Alchemy PreBraided Molex to 3pin x3 Fan adapter
BitFenix Alchemy PreBraided SATA 6GB/s cable
Windows Home Server 2011 – OEM
(Everything here came from Overclockers with the exception of the hard drive from Ebuyer.)
The Build
There’s not really much I can say about the build in general, although I will say that as far as building from scratch goes, this was my first! I’ve upgraded PCs, ripped bits out & put them back in, etc but never actually sat with a load of freshly unboxed components & built from the ground up. Amateur, maybe, but the build went without a hitch & everything booted first time, no post-beeps or crashes so I think I win! 😛 Here are a few pics of the build:
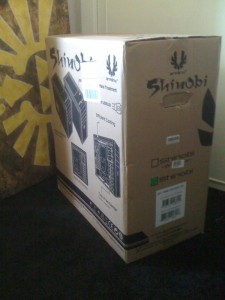
Tadaa, what an unboxing! And yes, that is a Triforce canvas peeking in the background, I’ve not had time to hang it up yet! 🙂
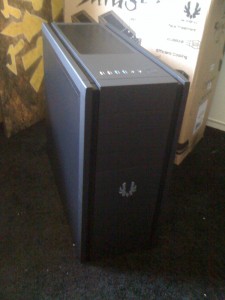
The BitFenix Shinobi case in black was the perfect choice for this build given that it can hold up to 8 hard drives natively without having to bring in any other equipment to add more to the 5.25″ bays (of which there are 3). It’s sleek looking and near silent, including only 1 rear 120mm fan with the case, but supporting the addition of 2 more 120mm at the front and up to 2 140mm in the top. See other server tagged posts to see any upgrade or additional features to the case.
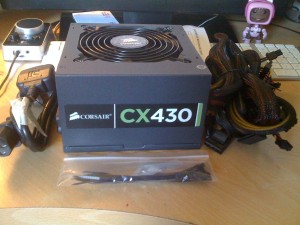
Corsair PSUs are ones to swear by when it comes to reliability and extremely affordable. For this build I went for a no-frills bronze rated one from the builder series. Only 430W, but more than enough than is needed for the server & all it’s components with plenty available for future expansion.
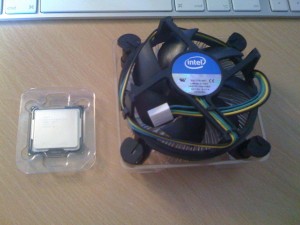
Originally I’d wanted to go for an Intel i3 2100 processor, but quickly realised that as much as it’s nice to say it’s an i3 rig, it’d be going to waste on this one! The Intel Celeron G530’s MORE than enough power as a dual core 2.4GHz and I’ve been happy with it’s performance thus far. Another winner in any budget build! Same goes for the Kingston Hyper Blu 4GB RAM.
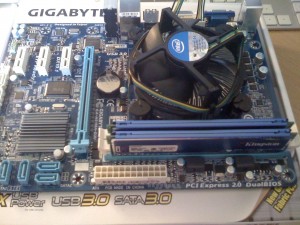
After getting this far, the longest period involved installing the motherboard into the case and tidying the cabling behind the right panel. There’ll be more tidying done as time goes on & hard drives are added, but for now, it’s lookin’ pretty nice with v little cabling inside the case with components.
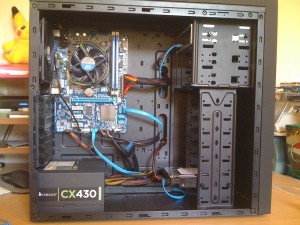
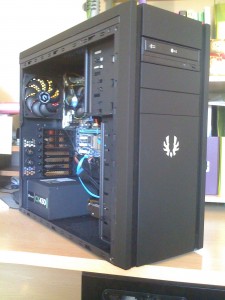
After the initial build was completed, I’d already spied the Crucial M4 SSD and decided to snag it to install as my OS drive so I held off on installing the operating system at this point. Just over a week later, the next batch of components arrived from Overclockers; the Crucial M4 SSD, the backplate for mounting it along with another BitFenix 120mm fan and some BitFenix Alchemy cables for the fan & SATA connection on the SSD. Thus began phase 2 of the server build:
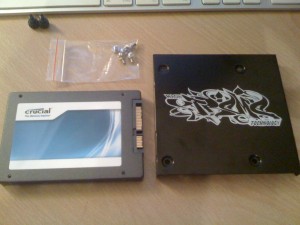
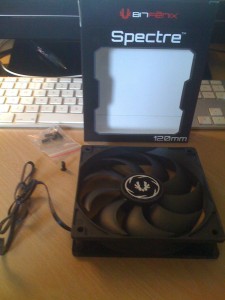
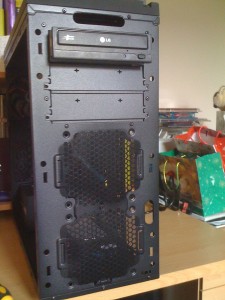
The 120mm Spectre fan from BitFenix is just in plain black, no fancy LEDs for this rig. I added this to the front to get some push-pull going on with my airflow to have some air movement over the hard drives inside. Installing in the Shinobi’s the simplest I’ve seen so far; just snap off the front & slide the fan into place. A few screws to secure it, connect power & you’re sorted! Surprisingly, the Spectre fans are very near silent with only the barest ‘woosh’ audible when I put my ear up to the case. Sweet!
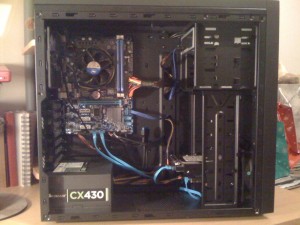
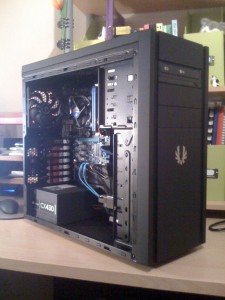
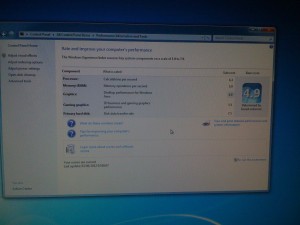
After all this, I installed Windows Home Server 2011 & took it for a test drive. It scores a 4.9 on experience, not bad for a very basic, budget build with no graphics card. The rig’s running cool and silent and so far I’ve experienced no issues with it in the last month of using it. Can’t wait to add more storage to allow for some backup and redundancy in future, but for now this little ninja’s performing superbly!
Oh, and the server’s been named ANBU. The name seemed fitting for many reasons including its silence, speed & the fact that it’s in a Shinobi case – v ninja! 🙂
Awesome use of a Shinobi! I found your blog through OCUK’s retweet and was surprised to find your post so entertaining. Can’t wait to read more.
Thank you! I’m glad you like it! 🙂
How does your processor cope with this? I’d never have thought to go for less than an i3. Also are you gonna use it for just media or anything else?
Thanks! I wish more had, I could’ve used the inspiration when building lol. Still looking for little tweaks to make it more unique though. Now that it’ll be sitting in the livingroom, I may look for something with LEDs for mood lighting, though it’d be nice to have the option to turn them off too! Decisions, decisions!